Turn your museum into a place that everyone can enjoy
The complete system for inclusion, accessibility and fun
Your next big thing. Simplified.
You've curated the best exhibits, planned every detail, and perfected the experience. You've poured your soul into something wonderful, and we'll help your guests appreciate it.
Click any box below to learn more
Everything you need to make your exhibits better
The 42Kites system comes with hardware, web software and almost too good to be true (but it really is true) support
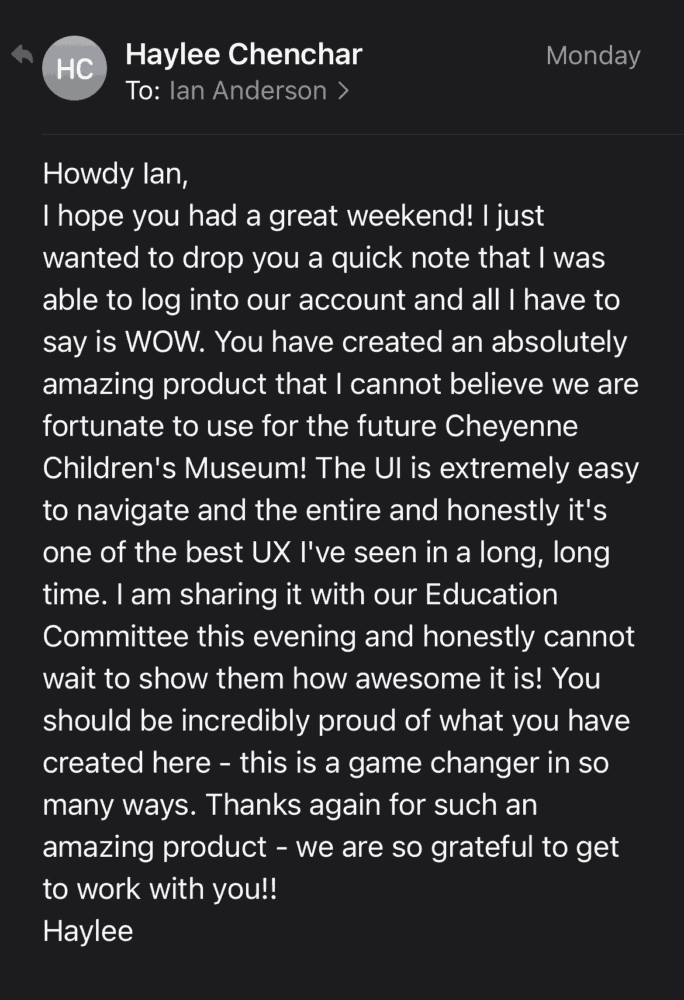
*Shared with permission
Questions? Answers.
If you can't find an answer to your question, send us a message here
It's the easiest way to bring your museum to life.
This system has everything you need to create in-museum digital experiences for visitors. It includes the hardware to mount on the wall, the web interface where you can add your digital content (no software or app required) and the almost-too-amazing support that includes writing copy, editing video and Photoshop editing services.
There are many ways you can use this platform. The most common way is for museums to layer on more information about their exhibits. Visitors can then tap or scan SmartLinks with their phones, giving them instant access to the digital content you added to the experience.
Videos, photos, 3D models, visitor feedback forms and sponsorship ads are just a few examples of content that can be added. You can even add buttons to give your guests the ability to make a donation while they are standing in front of an exhibit.
The 42Kites platform also features our Inclusion Bar which includes language translation, visual impairment controls and text-to-speech, making your content more inclusive. You can even create a scavenger hunt by hiding clues in your museum.
We worked hard to make a simple, yet powerful platform. In just a few easy steps you can transform the experience of any (or all) exhibits in your museum. Best of all, no technical or design skills are required.
Whether it's an exhibit that has a captivating backstory, a visitor favorite, or even a display that could benefit from more content to boost visitors' interest, the first step is to pick the exhibit(s) in your museum that you would love to expand the amount (and types) of information you share with guests.
-
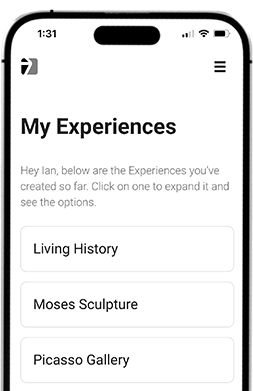
- Login to your 42Kites account to create an Experience and add the digital content related to the exhibit. Maybe it's a video of the painter talking about their piece or photos with arrows that point out interesting markings on a sculpture, etc.
- Configure a SmartLink to link to that Experience. When prompted by the configuration wizard, enter the secret PIN number that's listed on the back of the card. This will activate the SmartLink.
- Assemble the holder. Place the SmartLink card inside the holder and attach the holder to the wall near the exhibit. (This step is optional).
You do NOT need to use the wall-mounted holder to use a SmartLink card. Some exhibits (like small artifacts in a glass case) do not need the wall-mounted holder. You can simply attach the SmartLink card to the inside of the glass case.
Museum visitors will now be able to tap or scan the SmartLink to see the digital content of that Experience.
In addition to the easy to use system (hardware and digital system), all Premium Plans includes a few features to make your life much easier:
- Always Perfect Guarantee
42Kites hardware will always look good, know why? If a SmartLink or Wall-Mounted Holder ever breaks, tears or cracks, we'll send you a replacement for free. We'll even pay for shipping. - Impossible To Fail Guarantee
Have 100% confidence knowing that the 42Kites system will work for your museum. If you get stuck or need help with anything, a member of our team will provide one-on-one support (over Zoom, Facetime, WhatsApp, etc...) and work with you to get everything working in your museum. - Helping Hand
Think of this as having your own dedicated tech/design department to help transform your physical content to the digital world. Need someone to retype text from an old photograph? We can help. Need someone to trim the last 24 second off of a video? No problem. Need someone to crop the garbage can out of the background of a photo? We got you. Need a custom SmartLink overlay designed so you can get it printed? Just ask.
There are no additional fees for these services. Unlimited access to all these services (and more) is INCLUDED in all Premium Plans.
Here is a diagram of the SmartLink card and the three pieces that make up the wall-mounted holder:
Here are a few photos:
You do NOT need to use the wall-mounted holder to use a SmartLink card. Some exhibits (like small artifacts in a glass case) do not need the wall-mounted holder. You can simply attach the SmartLink card to the inside of the glass case.
The end result of a SmartLink card placed in the wall-mounted holder looks something like this:
See our handy instructions on how to install the wall-mounted SmartLink holder.
Yes! You don't need to have any design or technical skills to create Experiences.
You will also have access to lots of tutorials that show how to use the Experience Builder. However, if for any reason you need one-on-one tech support or help creating the visuals for your Experiences, we are here to help. All 42Kites Premium plans include unlimited, free support and resources!
Below are a few screenshots of the main 42Kites account screen:
The SmartLink card allows visitors to tap or scan their phones to access an Experience. By default, the SmartLink card displays a QR Code, but that can be changed. You can easily customize the display by overlaying an image/graphic on top of the SmartLink card.*
Here are a couple of ideas:**
- You could record your museum curator telling stories about each exhibit and then create a "Curator Tour" graphic to use in place of the QR Code.
- Does your museum have a specific theme or mascot? If yes, featuring an image of the mascot could be a fun way to "dress up" the wall-mounted holder.
Here are a few examples of customized overlays:
* Because image / graphic overlays will hide the QR Code, using them will disable the "scan your phone" functionality. However, because the SmartLink cards have built-in NFC Chip functionality, visitors will still be able to tap their phones to access the Experience.
** If you need assistance creating custom SmartLink overlays, we can help design them for you at no additional cost. Take a look at the included service called Helping Hand.
We created a few short, animated cartoon videos that will show your visitors how to scan the SmartLinks. There are multiple versions of the "How to use SmartLinks" video. We created a collection of videos, each within a different museum setting and with different animated characters. All 42Kites plans include access to all of these videos.
To make sure guests watch it, we recommend you display it (on a TV screen, laptop or tablet) near the admission line or download the video and add to your website and / or social media pages.
Here is an example of just one of the videos you will have access to:
NOTE: Our Sponsor+ program will find a sponsor for you so you can get the 42Kites devices for free.
Yes! Within the Experience Builder, you can create a shared Header and Footer which will give you a place to easily add info about a sponsor to all your Experiences. You can add a sponsor's logo or even a sponsorship banner ad, both which can (optionally) be set to link to the sponsor's website.
While the shared Header and Footer area can be use to put logos and ads across ALL your Experiences, you also have the option to display different information on an Experience by Experience basis.
If you plan on featuring sponsors in your experiences, we recommend highlighting this as a benefit in the sponsorship materials you provide to potential sponsors. Here is an example of three Experiences with a banner for a local car dealership located at the top of each Experience.
Yes! You can lock an Experience with a custom PIN number. Here's an example of what the locked Experience will look like when the visitor first scans the SmartLink card:
There are many different ways museums can benefit from using a locked Experience but a few of our favorite ways is to create a fun adventure like a "Digital Easter Egg Hunt", "Digital Scavenger Hunt" or "Digital Escape Room". These types of locked experiences create a fun activity for your guests, while increasing their engagement levels with your exhibits.
Here's an example of how a digital "Digital Scavenger Hunt" could work:
Using the Promo Box feature in the Experience Builder, you can add "clues" to a few of the Experiences you've created for your exhibits. Creating a clue is as simple as adding (let's say) a single letter or number to each Experience that you want to contain a clue.
Let's imagine you have a large collection of different dinosaur fossils with twelve SmartLinks in a large exhibit room:
- One of the SmartLinks (maybe right under the T-Rex) will display the locked Experience from that screenshot above. Visitors will not be able to access the information until they know the answer.
- Seven of the SmartLinks in this big fossil room only has interesting information about the fossil it is next to (video of it being excavated, a map of the location, etc..).
- In addition to the background information about a particular fossil one SmartLink displays a Promo Box that says "The first digit is 1".
- Another SmartLink displays a Promo Box that says "The second digit is 9".
- Another SmartLink displays a Promo Box that says "The third digit is 1".
- and finally the last SmartLink contains a Promo Box that says "The fourth digit is 2".
By having the clues spread over multiple SmartLinks, it will encourage visitors to tap or scan all the the SmartLinks of all your exhibits and read the content. As guests hunt for clues, they will also be learning more about your exhibits in the process.
When setting up something like this, remember that people don't always follow the same path around your museum so make sure that the SmartLinks can be scanned in any order.
Once the visitor finds all of the clues, they will have the complete key to unlock that final locked Experience. As a reward for their effort, the "unlocked" Experience could give them a code for a something like "Free hotdog" from the cafe or "10% off an item" in the gift shop.
PS: Locking an Experience is as easy as adding a custom PIN and question. This is what it looks like in your account:
When picking a name, we considered lots of options. It was important for us to create something that was memorable, easy for people to type into a browser and that was different than other "techy" companies.
SmartLink.com, SkyLink.com and SkyBridge.com are just a few of the names that were discussed. But the names we came up with were either already taken or too long for people to (easily) remember.
Back at the drawing board, we turned to some of our favorite books as sources of inspiration. In the book, “The Hitchhiker's Guide to the Galaxy” by Douglas Adams, the number 42 is the answer given by a supercomputer to “The Ultimate Question of Life, the Universe, and Everything.” The supercomputer's level of infinite knowledge is what inspired us to incorporate "42" into the name.
As for the kites parts, while we don't sell them, kites give you the feeling of something elevating above the norm and that perfectly describes what this platform does - it takes regular museum exhibits and elevates them to a something greater.