How do I customize my Experiences?
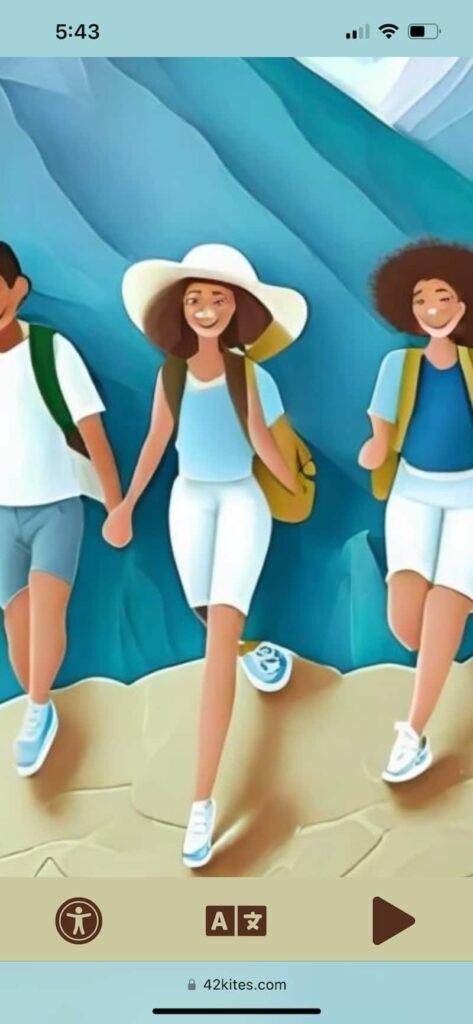
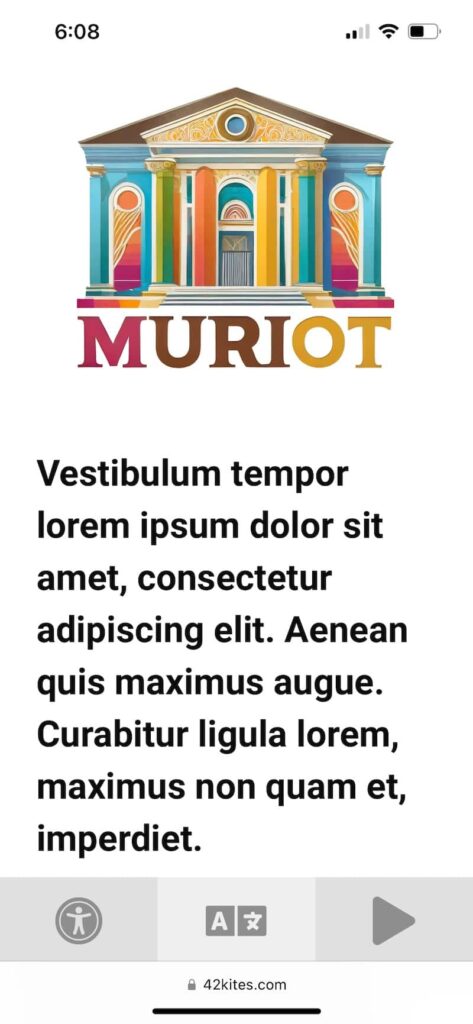
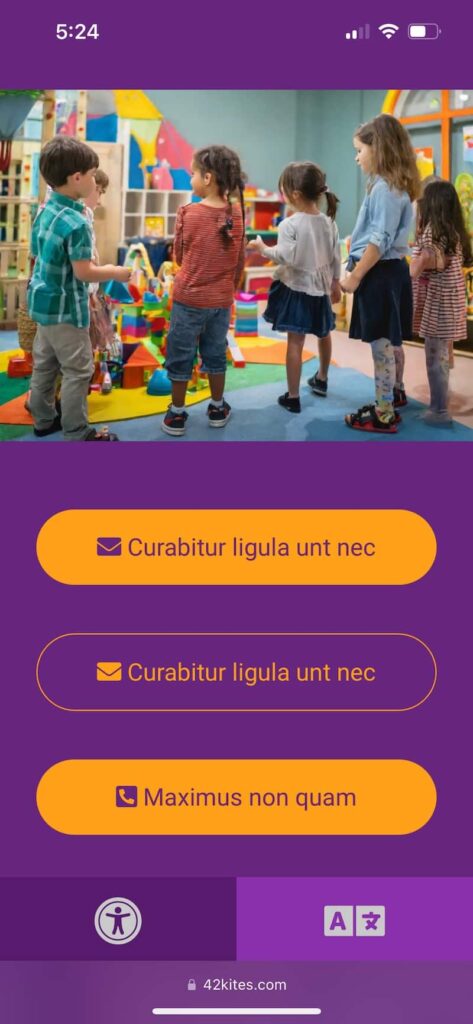
Every museum is different and now all your Experiences can perfectly match your organizations branding color scheme. You can make your Experiences look something like this:


You can change the following elements to any color:
- Content
- Headings
- Text
- Background
- Inclusion Bar
- Visual Impairment Icon
- Visual Impairment Background
- Translation Icon
- Translation Background
- Text-To-Speech Icon
- Text-To-Speech Background
Elements such as the Promo Box and Buttons (email, phone and link) also have alternative styles you can select, this option inverts the background and text color giving you
You can make color changes at anytime. Any color changes you make will be automatically applied to all your Experiences.
Selecting custom colors is done by going to the My Experiences page, clicking the Customize button and selecting the colors you want to use. You can either type in a hexadecimal color code OR select a color from the on-screen color palette. It looks like this:

If you ever want to go back to the default (dark) color scheme, just click the Load the default colors button at the bottom of the customization section.
